
Guides › Setting Up a New Company with the Setup Wizard
Setting Up a New Company with the Setup Wizard
RBTERP team · · 4 min read
Each step of RBTERP's setup wizard explained: country, books, chart of accounts, tax, banks, warehouses, numbering and users, and what cannot change later.
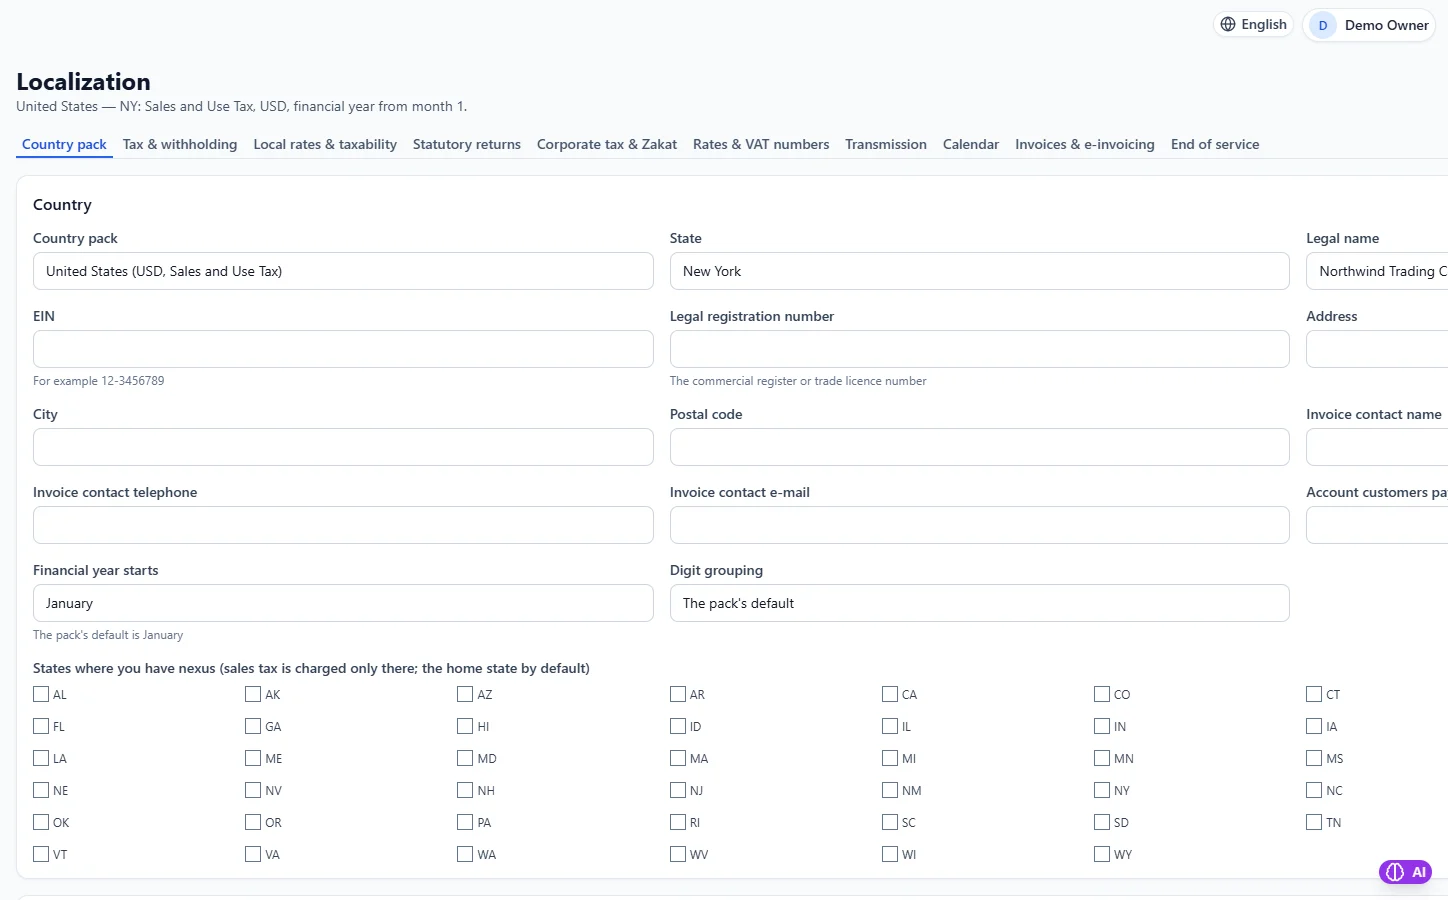
Tax & Localization in RBTERP, with a sample company and fictional data.
The setup wizard turns an empty installation into a company that can post its first invoice. It lives under Settings, then Setup wizard. Each step shows *Done* or *To do*, and why, so you can stop and come back at any point.
Before you open it
Gather these first. Every answer the wizard asks for is on this list:
- The country you operate in, and for the United States, the state.
- The company's legal name, tax registration number and city, exactly as registered.
- The books currency: the currency your accounts are kept in.
- The month your fiscal year starts.
- The chart of accounts you want. See chart of accounts for a trading company.
- Your bank and cash accounts, and your warehouses or stores.
- How you want invoices, orders and deliveries numbered.
- The people who will use the system and what each one does.
The ten steps
1. Open the wizard
Settings, then Setup wizard. You need an administrator account.
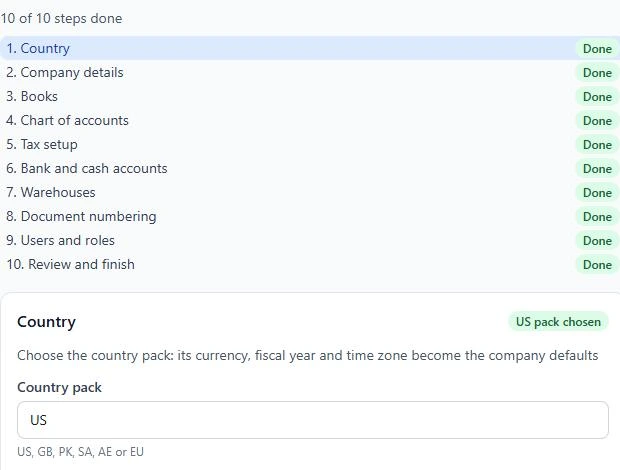
2. Country
Choose the country pack and save. The pack sets the company's default currency, fiscal year and time zone, and later its tax rates. RBTERP has packs for Pakistan, the United Kingdom, the United States, the United Arab Emirates, Saudi Arabia and the European Union.
3. Company details
Legal name, tax registration number and city. These appear on your documents, so use the registered spellings.
4. Books
Base currency, the fiscal-year start month and the business time zone. RBTERP asks you to confirm, because these cannot change once anything is posted. A wrong books currency after posting can only be cured with a new company. On the desktop, tick the option to make it this installation's clock as well, and restart when asked, so documents are dated in your business's own time.
5. Chart of accounts
Choose a template and press *Preview chart*. The preview lists the accounts it would create, those already present, any conflicts and the posting roles it would map. Then *Apply chart* and confirm. A template can only be applied before the first posting.
6. Tax setup
Press *Preview provisioning* to see the tax rates and accounts the country pack will create, then *Provision* and confirm. For the United States, import the local rate file for each state where you must collect tax. See sales tax and withholding setup.
7. Bank and cash accounts, and warehouses
The wizard opens the Bank and Inventory modules for you. At least one bank or cash account and one warehouse must exist before you can go live. See setting up bank and cash accounts and setting up products and warehouses.
8. Document numbering
Confirm the formats for invoices, orders and deliveries. A format is a prefix of letters, digits and dashes, a number of 3 to 10 digits, and a restart rule: never, daily, monthly or yearly. You can change a format later; the change applies to the next number.
9. Users and roles
Create the users, then confirm the step. See users, roles and permissions.
10. Review and finish
The review step lists anything still open, including every blocking item from the go-live readiness report. Fix each one where it says, then press *Finish setup*. The wizard refuses to finish while anything blocking remains, and names what it is.
What you can change later, and what you cannot
Under Settings, then Company, every governed setting shows where its value came from: *Set* by someone, the *Country default*, or *Not set*. Every change is recorded with who made it and why.
- Any time: legal name, tax number, address, the currencies you trade in, document numbering.
- Needs confirmation, and refused once anything is posted: the books currency and the fiscal-year start month.
- Needs a restart: the business time zone.
After the wizard
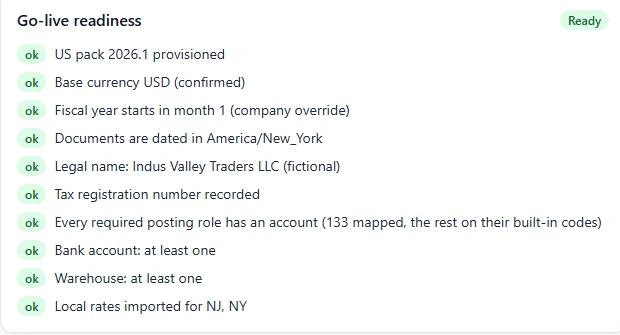
Read the go-live readiness report at the top of Settings, then Company. It should say *Ready*, with nothing blocking and nothing unknown. Our go-live readiness checklist explains every item. Then load your opening balances.