
Guides › Getting Started with RBTERP
Getting Started with RBTERP
RBTERP team · · 3 min read
Your first day with RBTERP: installing the desktop edition, creating the owner account, importing your licence and knowing what to set up next.
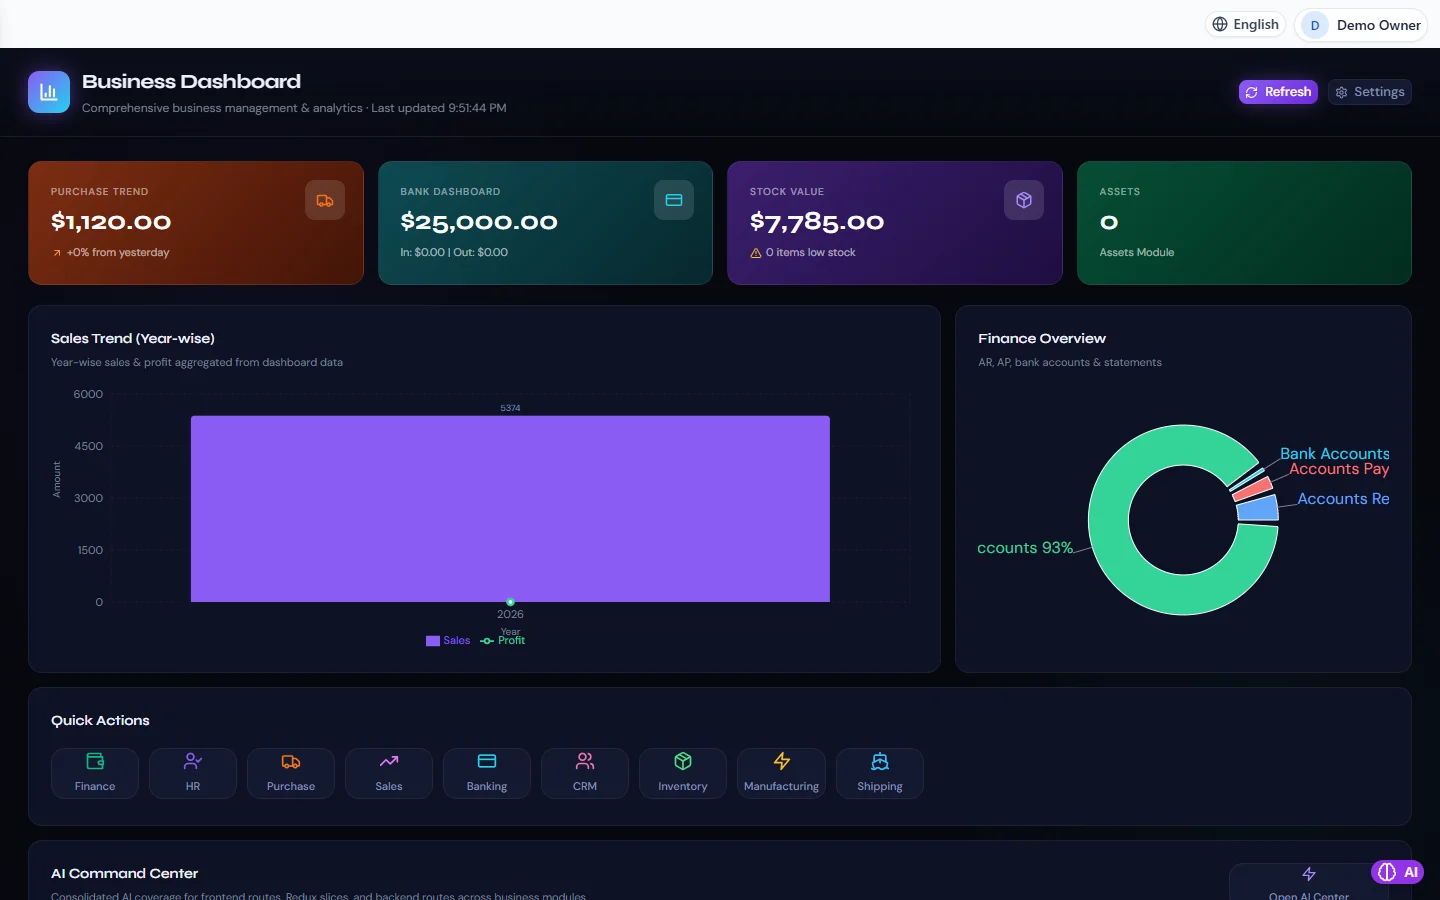
Business Dashboard in RBTERP, with a sample company and fictional data.
This guide takes you from an empty computer to a company ready for setup. It is the first of the getting-started guides; the others take each step further.
What you are installing
RBTERP is ERP and accounting software. Every module, from sales to payroll, keeps its records in one database, and every transaction that touches money posts to a double-entry general ledger. The Windows desktop edition keeps that database on your own computer. Nothing is sent to us, and the software works without the internet.
Before you start, have these ready:
- A Windows computer that will hold the company's data. If several people will work at once, choose the one that stays switched on during working hours.
- The RBTERP installer folder we gave you.
- Your licence file. A licence is issued for the computer it will run on.
- Your company's legal name, tax registration number and address.
Step 1: Install
Our installers are signed with RBTERP's own certificate. The installer folder contains a file called Install RBTERP.cmd. Double-click it. Windows asks once for administrator permission; the file then tells Windows to trust our certificate and starts the installer, which Windows shows as published by RBTERP.
Install from the folder we gave you on a USB drive or a shared folder. A file downloaded from the internet can still be stopped by Windows SmartScreen, whoever signed it.
Step 2: Create the owner account
On a new installation the first person to sign up becomes the owner: the Super Administrator, with every right, licences included. No account comes with a preset password, so choose a strong one and keep it safe.
After that, a new sign-up does not get in on its own. It files an account request with a read-only role, which an administrator approves under Users, then Approvals. This stops anyone with access to the computer from quietly creating an account.
Step 3: Import your licence
Signed in as the Super Administrator, import the licence file. The licence decides which modules and how many users your plan includes.
Step 4: Know where your data lives
All your company data is in one data folder on this computer, along with its backups, attachments and logs. Settings, then Backup and Restore, shows the exact paths. Write them down. Then turn on automatic backups straight away, before you enter anything worth losing. Our guide on how to back up your accounting data explains the routine.
Step 5: Set up the company
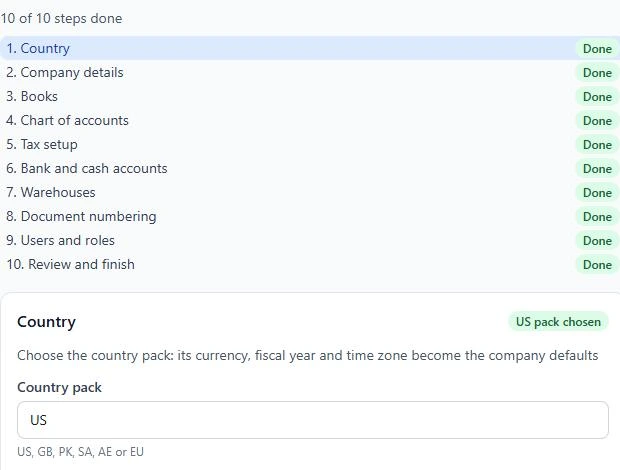
Open Settings, then the Setup wizard. It takes you through country, company details, books, chart of accounts, tax, bank and warehouses, numbering and users, and it will not let you finish while something essential is missing. Follow setting up a new company for each step.
Two decisions in the wizard cannot be changed once anything is posted: the books currency and the month your fiscal year starts. Take a moment over them.
Step 6: Bring in your opening position
If the business is not brand new, its balances on the day you start must come across: what customers owe, what you owe, stock, bank balances and the rest of the trial balance. Read opening balances: how to prepare them before you enter a single invoice.
Step 7: Add your people
Create an account for each person who will use RBTERP, each with the narrowest role that does their job. See users, roles and permissions.
A sensible first week
- Day one: install, owner account, licence, automatic backups.
- Days two and three: the setup wizard and the chart of accounts.
- Days four and five: opening balances, reconciled to your old records.
- Then start entering live transactions, and close your first month with the month-end close checklist.
If you would rather we did the setup for you, our Software Setup service covers company and fiscal-year setup, users and roles, tax and currency settings, and a hand-over session.